chequerboard cake mary berry

chequerboard cake mary berry

chequerboard cake mary berry

I. Introduction

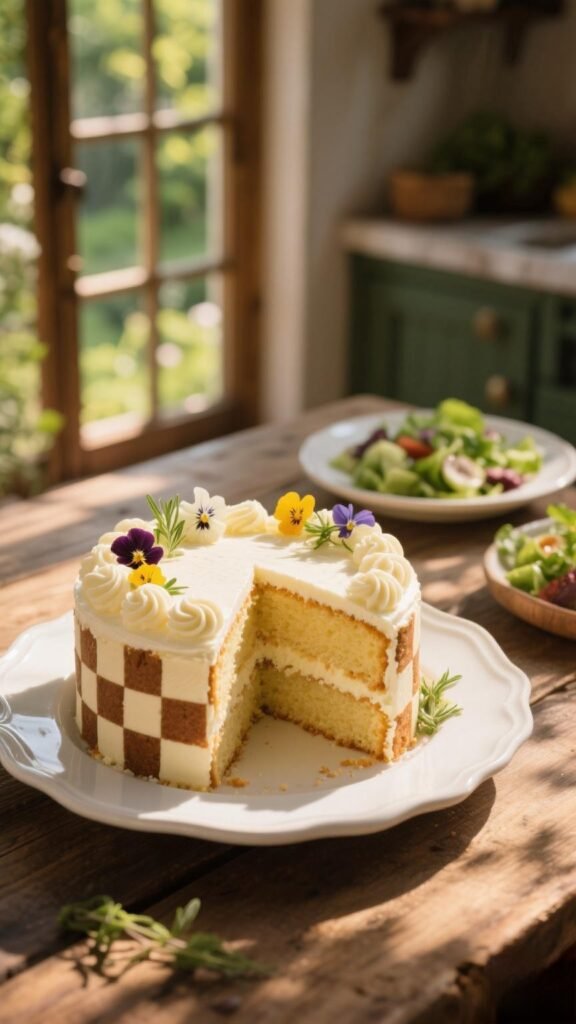
Mary Berry is a beloved figure in British baking, known for her simple yet elegant recipes that have inspired generations of home cooks. Her approach emphasizes using quality ingredients and traditional techniques, making baking accessible and enjoyable for everyone. Among her many impressive creations, the chequerboard cake stands out as a true showstopper. Its intricate pattern and vibrant appearance make it perfect for special occasions like birthdays, weddings, or anniversaries. Not only is it a feast for the eyes, but it also delivers a delicious, fluffy sponge layered with rich buttercream. This article will explore the charm of Mary Berry’s chequerboard cake, its history, step-by-step instructions, tips for perfecting it, and some creative variations to inspire your baking journey.

chequerboard cake mary berry

II. Mary Berry’s Unique Approach & Historical Context

Mary Berry’s baking philosophy centers on simplicity, quality, and elegance. She believes that with the right ingredients and a little patience, anyone can create impressive desserts. Her chequerboard cake exemplifies this, combining straightforward sponge recipes with a clever pattern that elevates the ordinary into something extraordinary.

The idea of patterned cakes has a long history, dating back to Victorian times when bakers enjoyed creating decorative layers to impress guests. The chequerboard pattern, in particular, became popular because of its striking contrast—traditionally made with vanilla and chocolate sponge to create a checkerboard effect. Mary Berry’s version respects this tradition but also lends her signature touch by ensuring the cakes are moist, evenly baked, and beautifully assembled.

III. Notices on Ingredients & Equipment
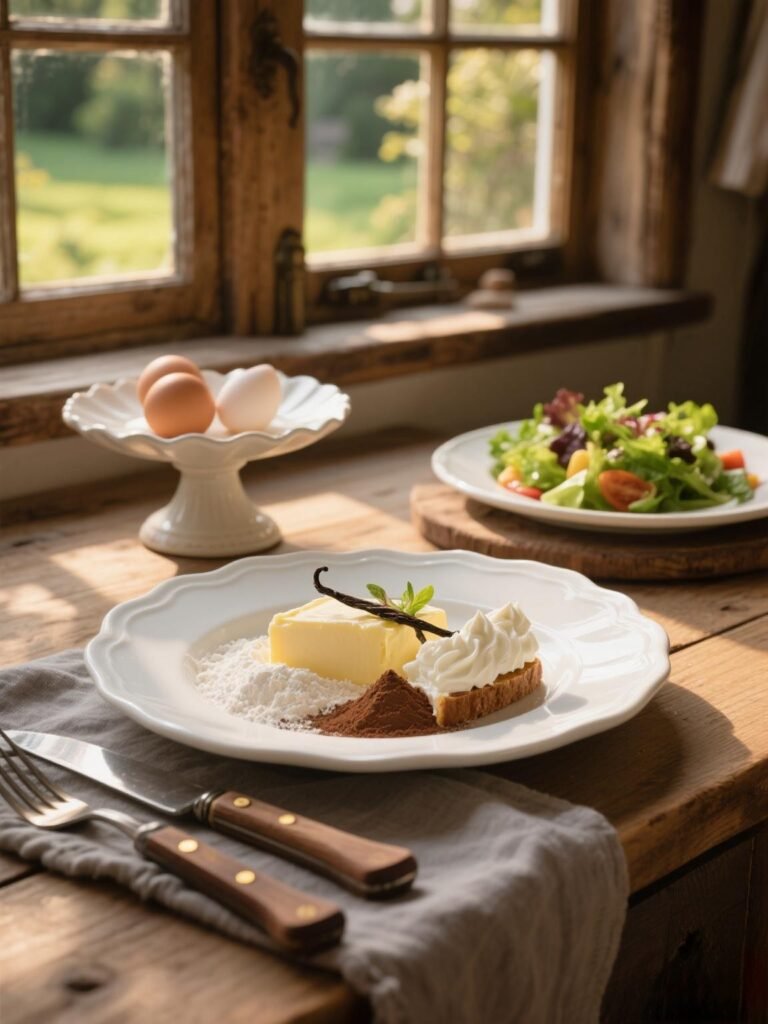
Ingredients:

For the Sponge:

  • 250g unsalted butter, softened
  • 250g caster sugar
  • 4 large eggs
  • 250g self-raising flour
  • 1 tsp baking powder
  • 1 tsp vanilla extract
  • 2 tbsp cocoa powder (for the chocolate sponge)

For the Buttercream:

  • 200g unsalted butter, softened
  • 400g icing sugar
  • 1 tsp vanilla extract
  • Food coloring (optional, for decorating)

Equipment:

  • Two 20cm round cake tins
  • Piping bags and nozzles (for decorating)
  • Spatula and palette knife
  • Cooling racks
  • Sharp knife for cutting the sponge
  • Cake turntable (optional but helpful)

IV. Recipe Instructions

Step 1: Prepare the Sponge Batter

Preheat your oven to 180°C (350°F). After this, Grease the cake tins and line them with baking paper. In a large bowl, beat the softened butter and caster sugar until pale and fluffy. After this, Add eggs one at a time, mixing well after each addition. Sift in the flour and baking powder, then fold gently. Stir in the vanilla extract.

Prepare the Sponge Batter

Step 2: Bake the Sponges

Pour the vanilla batter into one prepared tin and the chocolate batter into the other. Smooth the tops with a spatula. Bake for about 25-30 minutes, or until a skewer inserted into the center comes out clean. Let the sponges cool in their tins for 10 minutes, then transfer to a wire rack to cool completely.

Bake the Sponges

Step 3: Cut and Assemble the Pattern
Once cooled, level the sponges if necessary. Using a sharp knife, cut each sponge into strips about 4cm wide. Assemble the strips in a checkerboard pattern on a serving plate, alternating vanilla and chocolate pieces. Secure the layers with a thin layer of buttercream as you go, making sure the pattern stays aligned.

Cut and Assemble the Pattern

Step 4: Decorate
Mix the remaining buttercream with a little food coloring to add vibrancy. Cover the entire cake with a smooth layer of buttercream, then decorate as desired—using piping nozzles for rosettes or borders. Chill the cake briefly to set the decorations before serving.

Decorate

V. Flavor Profile & Nutritional Information

The chequerboard cake offers a delightful combination of rich chocolate and vanilla flavors, balanced by the creamy sweetness of buttercream. The contrast in flavors and textures makes each bite interesting and satisfying. While indulgent, it’s best enjoyed in moderation.

Nutritional facts (per slice):

  • Calories: approximately 350–400
  • Protein: 5g
  • Fat: 20g
  • Carbohydrates: 50g
  • Sugars: 30g

For precise nutritional details, consulting a dietary database or nutritionist is recommended.

VI. Tips for a Perfect Chequerboard Cake

Use sharp knives: To ensure clean, straight cuts, sharpen your knives before slicing the sponge.
Chill the sponges: Cooling the cakes thoroughly helps with easier cutting and stacking.
Keep the pattern aligned: When assembling, work carefully to maintain the checkerboard look.
Color your buttercream: For extra visual appeal, tint your buttercream with gel food coloring, which provides vibrant hues without thinning the icing.
Practice patience: Creating a neat pattern takes time, so don’t rush the assembly.

VII. Alternative (Vegan and Non-Vegan)

Vegan Version:

Replace butter with plant-based margarine or vegan butter. Use dairy-free eggs such as flaxseed or apple puree. Substitute milk with almond, soy, or oat milk. Use vegan-friendly food coloring and frosting.

Step-by-step guide:

Follow the same process, ensuring all ingredients are vegan. Many supermarkets now stock vegan baking products, making this adaptation straightforward.

VIII. Recipe Variations & Serving Suggestions

Experiment with different flavors, such as lemon or coffee, by adding extracts or zest to the batter.
Decorate with fresh berries, edible flowers, or chocolate shavings for a personalized touch.
Serve with a side of fresh fruit or a drizzle of chocolate sauce for extra indulgence.

IX. Storage & Reheating Instructions

Keep leftovers in an airtight container at room temperature for up to two days or in the fridge for up to three days. Due to the buttercream, it’s best consumed within this timeframe. The cake can be refrigerated, but bring it to room temperature before serving for the best flavor and texture.

X. Frequently Asked Questions (FAQ)

Q: Can I prepare the pattern in advance?
A: It’s best to assemble and decorate the cake close to serving time to keep the pattern sharp and fresh.

Q: Can I make the pattern with different colors or flavors?
A: Absolutely! Feel free to experiment with different color combinations and flavors to suit your celebration.

Q: How do I ensure the pattern stays intact?
A: Use thin layers of buttercream to glue the pieces together and work carefully during assembly.

XI. Conclusion & Call to Action

Mary Berry’s chequerboard cake is a delightful way to impress guests with your baking skills while creating a delicious and visually stunning centerpiece. Whether you’re celebrating a special occasion or simply want to try something new, this cake offers both charm and flavor. Gather your ingredients, take your time, and enjoy the process of creating this beautiful layered masterpiece. Share your results and don’t forget—baking is about fun and creativity as much as it is about the perfect pattern!

XII. Additional Resources

Mary Berry’s Official Website
Culinary Hill

Similar Posts

Leave a Reply

Your email address will not be published. Required fields are marked *